Flutter works on the principle of widgets. We’ll create our first Flutter app using the text widget. Now, what is a widget? A widget is an application, or a component of an interface, that enables a user to perform a function or access a service.
Too complicated? Don’t worry. Take your mobile for example. The clock you see on the home screen is a widget. The music player you use to play songs is a widget. See, these are nothing but small pieces placed on top of each other to make an application.
Consider a stack of trays, one on top of another. A structure of the basic Flutter app has the ‘Material App’ widget at the bottom that means the base plate is Material. Above it, we place other widgets. These widgets in turn contain more widgets inside. Each widget has different properties that define it, like alignment, size, color, background, etc.
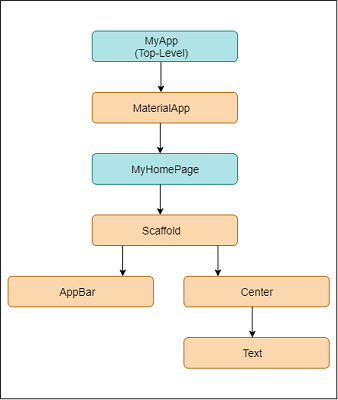
Creating our first Flutter app
If you have not read my previous article yet. Stop and go back.
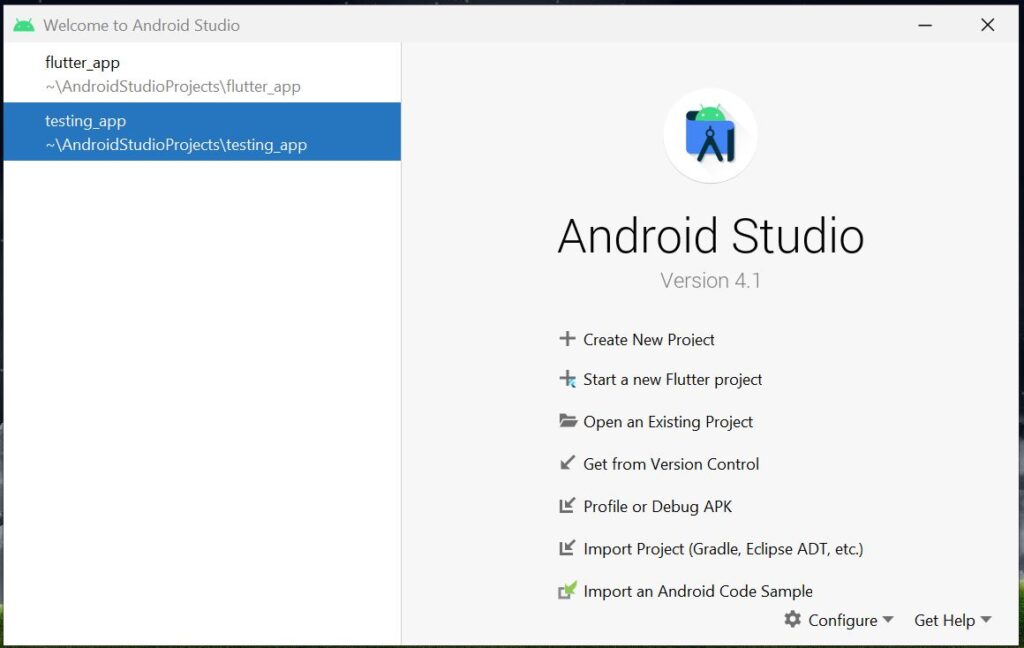
Step 1 – Open Android Studio. You’ll be taken to the welcome screen. Here select ‘Start a new Flutter project’ option.
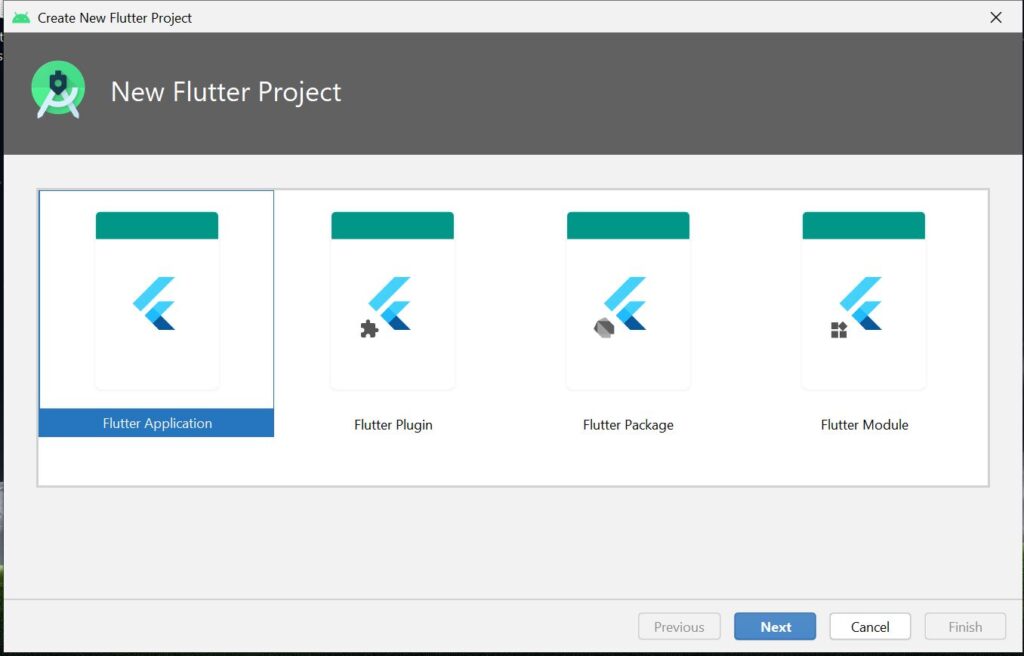
Step 2 –Now, what are we actually building? A Flutter app. Select ‘Flutter Application’ and click Next.
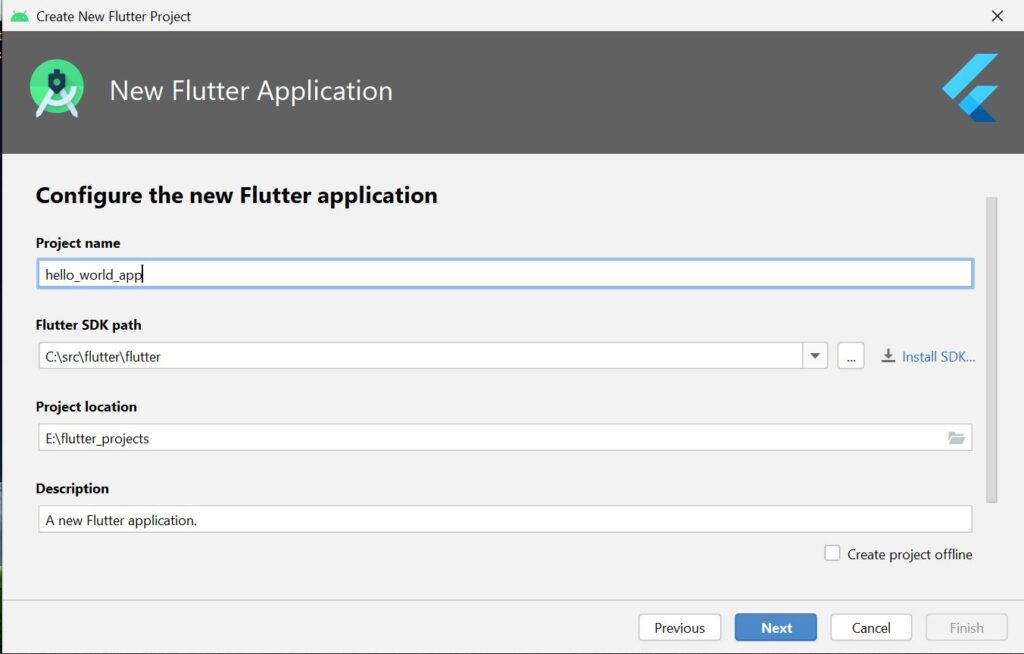
Step 3 – Name your project. Name should not contain spaces. Use underscore instead. For eg: hello_world_app. Select the Flutter SDK path. Under project locations you can chose your own directory to save your application. As you can see here, I have selected a folder called ‘flutter_projects’ inside the E drive.
Click Next.
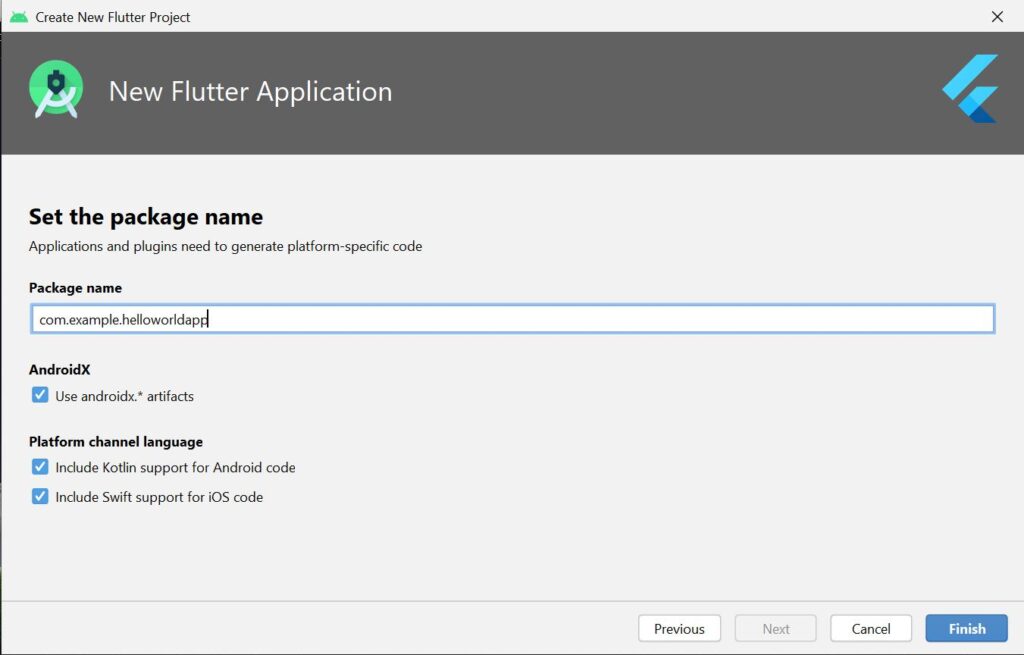
Step 4 – Now, a package name is used to identify your project uniquely. Let it be default for now. Click Finish.
Step 5 – You’ll then see this screen. It will contain a default Flutter application. This is made by the Flutter Development Team. Wait for a few minutes, the project resources are loading. This application is a counter application which is made using something known as a Scaffold. We’ll discuss it later.
For now, let’s try and run this app.
Default ‘MyApp()’ created by the Flutter Dev Team

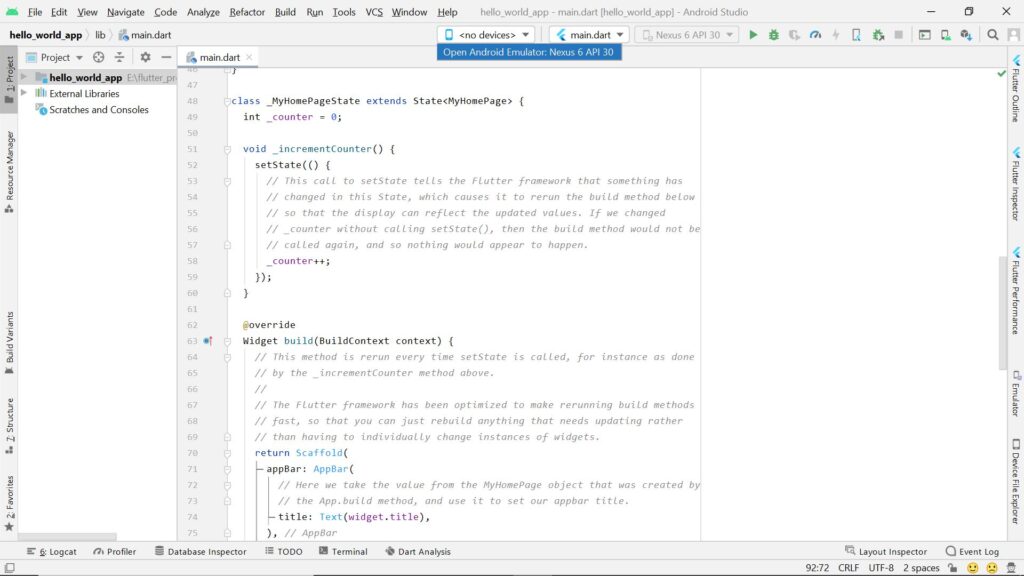
As shown in the image below, select the android emulator we created previously. Click on ‘Open Android Emul…..’ and wait for it to load completely(might take a few minutes).
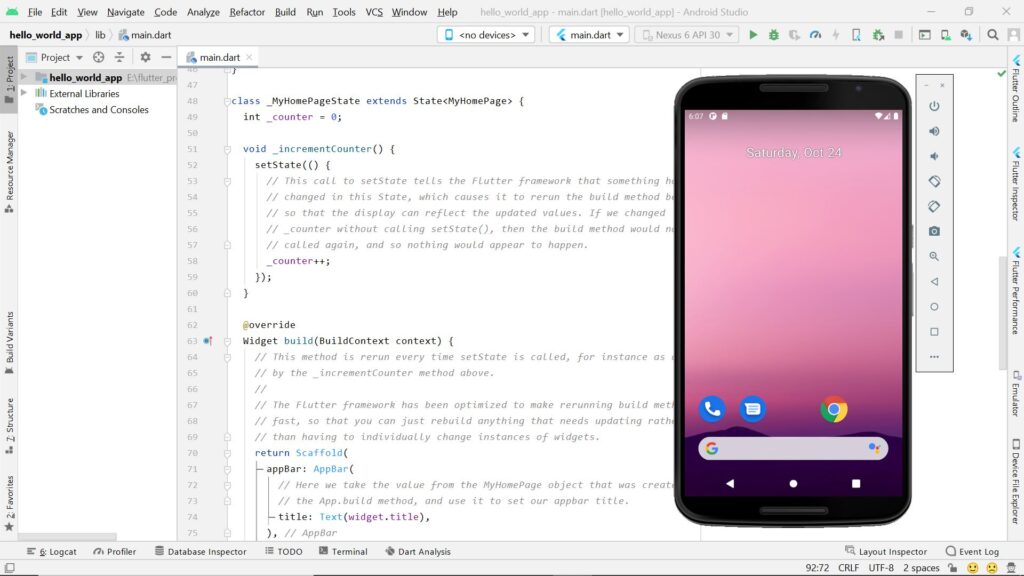
Voila!! We have the Emulator up and running. Now lets run the app. Press the green play button on the top right and wait for the project to load inside the emulator.
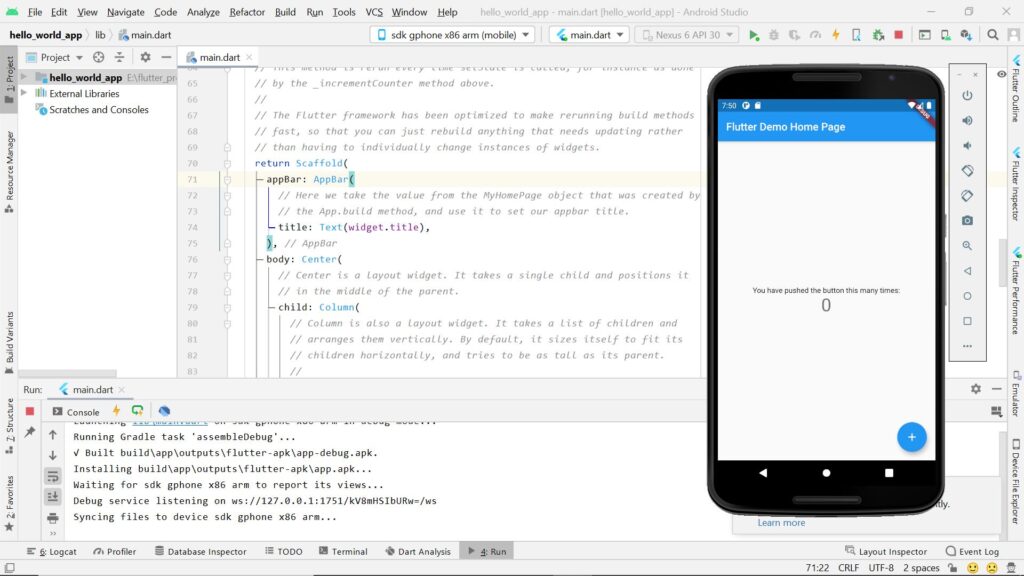
This is how the app looks like.
Now, we have seen how the default app looks like. Let’s create our own. Select and delete everything starting from line 7 up to the end. You’ll get an error on line 4. Actually, inside the ‘runApp’ function, there’s the name of the default flutter application developed by the FLutter Dev Team named MyApp(). Just delete it and the error will go away.

You might have guessed by now that whatever we write inside the runApp() function is the code of our Flutter app. The app that we are gonna run will be a blank MaterialApp. This app conforms to the Material Design pattern. Now, the question is what is material design?
It’s a design style or concept that was created by Google and a lot of companies and startups have adopted it for their websites and mobile apps. And by using Flutter, we get to tap into a lot of these components using Flutter widgets.
Step 6 – Time to write our own code inside the MaterialApp(). Let’s start making the widget tree.
Our base is the MaterialApp(). Then comes the home page. We’ll display some text on our home page.
import 'package:flutter/material.dart';

void main() {
  runApp(
    MaterialApp(
      home: Text('Hello World'),
    ),
  );
}
As you can see, we have created a tree like structure in our code. Main() is the point where our app starts. Inside there is a function called runApp(). Then MaterialApp() inside it contains the homepage which has the text widget placed inside it. By default all text widgets are aligned in the top left corner.
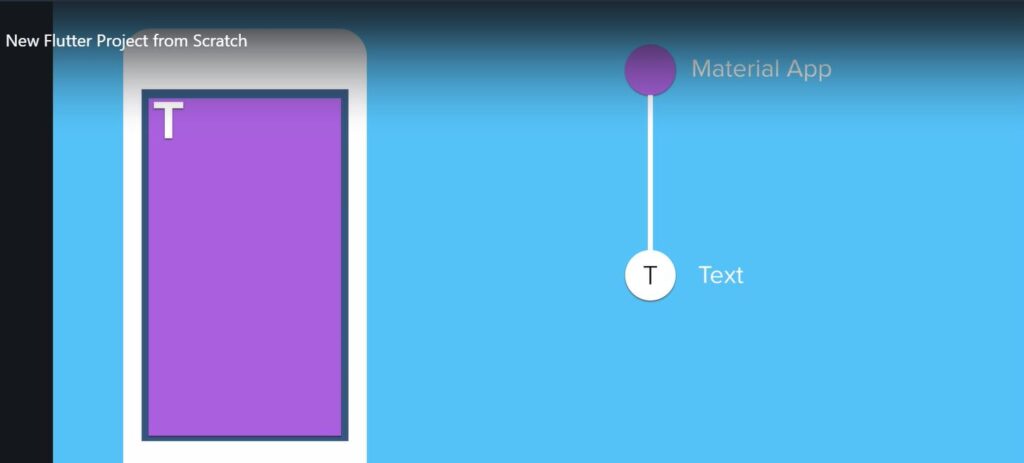
This is how our app will look like after running. See below.

Visit here for a detailed and more technical description of how Flutter works.

